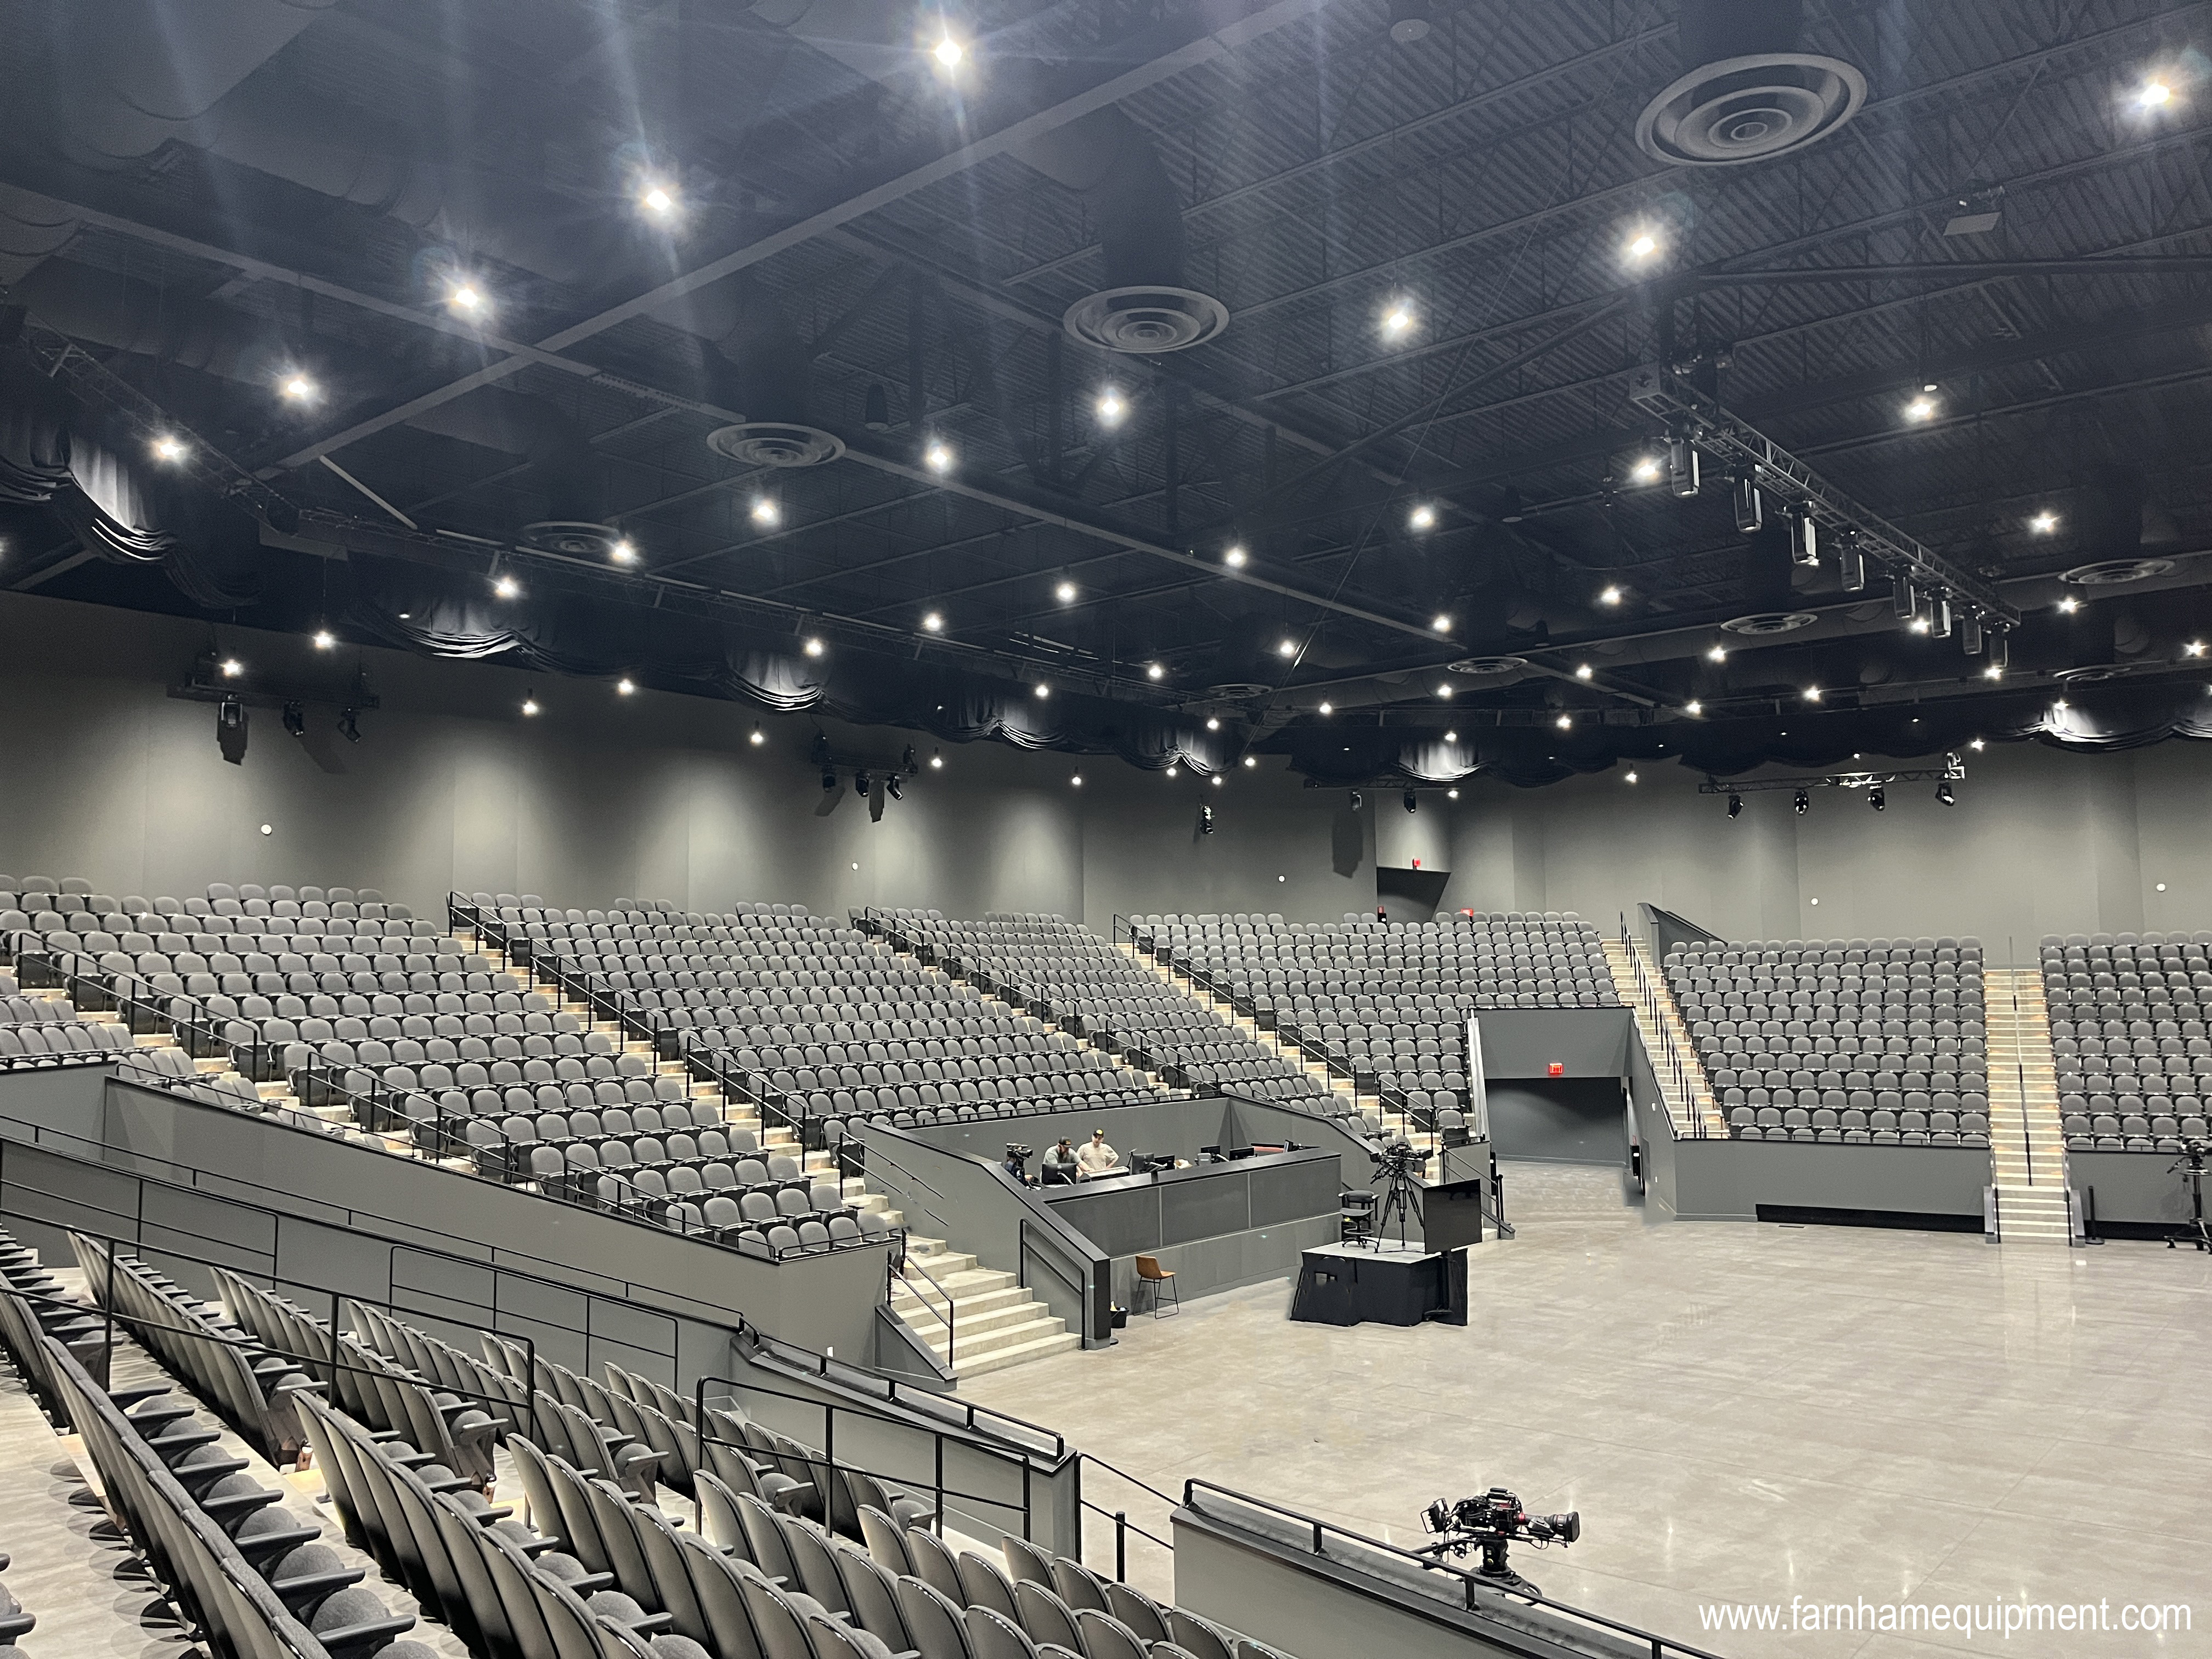
Here are our Top 5 Tips for Preventative Maintenance when it comes to Auditorium Seating.
Check Seat Operation: The seat should move freely up and down when cycled. Test the operation by pulling the seat down to its occupied position and release the seat. The seat should fully return to its upright, unoccupied position, without assistance. If the seat does bind, loosen the bolts, which attach the seat to the stanchions and actuate the seat up and down and side to side. After a few cycles the seat will return to its upright, unoccupied position. Retighten hardware to specified torque.
Not only is this important for functionality purposes, but if your seats are not retracting, it can pose a fire hazard for patrons, blocking aisle ways.
Check Seat Backs: Inspect the wing connections and verify they are not loose. Try to move the back from side to side and front to back. If hardware is loose, remove armrest. Tighten loose hardware and replace any missing or damaged hardware. Reattach the armrest.
Check Armrests: Check to see if armrest is secure by trying to slide armrest forward. If armrest is damaged, remove small screw (located underneath) in the middle of the armrest. This will allow the entire armrest to slide forward, so that it can be removed from the stanchion. If you have to replace the entire armrest, slide the new armrest on to the armrest bracket and re-attach the screw located underneath the armrest.
If you are replacing the “Arm Cap” portion, repeat above and remove the (2) remaining armrest cap screws located underneath at the rear and forward portion of the armrest. Then, replace with new cap and fasten with (2) previously removed screws and re-attach armrest to the stanchion as described in step. Always be sure to replace any missing or damaged hardware.
If you’re missing armrests completely, contact us for replacement parts and pieces as exposed hardware may become a hazard to patrons.
Check Anchors: Make sure connection bolts between the foot and floor or riser surfaces are tight. Try to move stanchion from side to side and front to back. Tighten anchors to the correct torque as specified in your Assembly Instructions/O&M Manual. Replace any missing or broken anchors.
Check Hardware: As mentioned above, make sure you’re tightening and replacing hardware as needed.
Bonus. Cleaning: Just as you clean on and around your bleachers, you’ll want to clean your fixed seating to increase the longevity and appearance of your seating. When doing do, inspect for wear and tear on fabrics and damaged laminate pieces that need to be replaced.
For a more detailed guide on the maintenance of your fixed seating, reference Hussey Seating Company’s O&M Manual for Quattro Seating.
Ain’t Nobody Got Time for That?!
Contact us to schedule an Auditorium Tune Up! We’ll check all of your hardware and fix what can be fixed.